Coding Quick Starter
Arcane Forge currently uses a tool-assisted coding workflow with your local IDE.
Prerequisites
Use an AI-enabled IDE such as:
- Cursor
- GitHub Copilot
- Other MCP-compatible editors
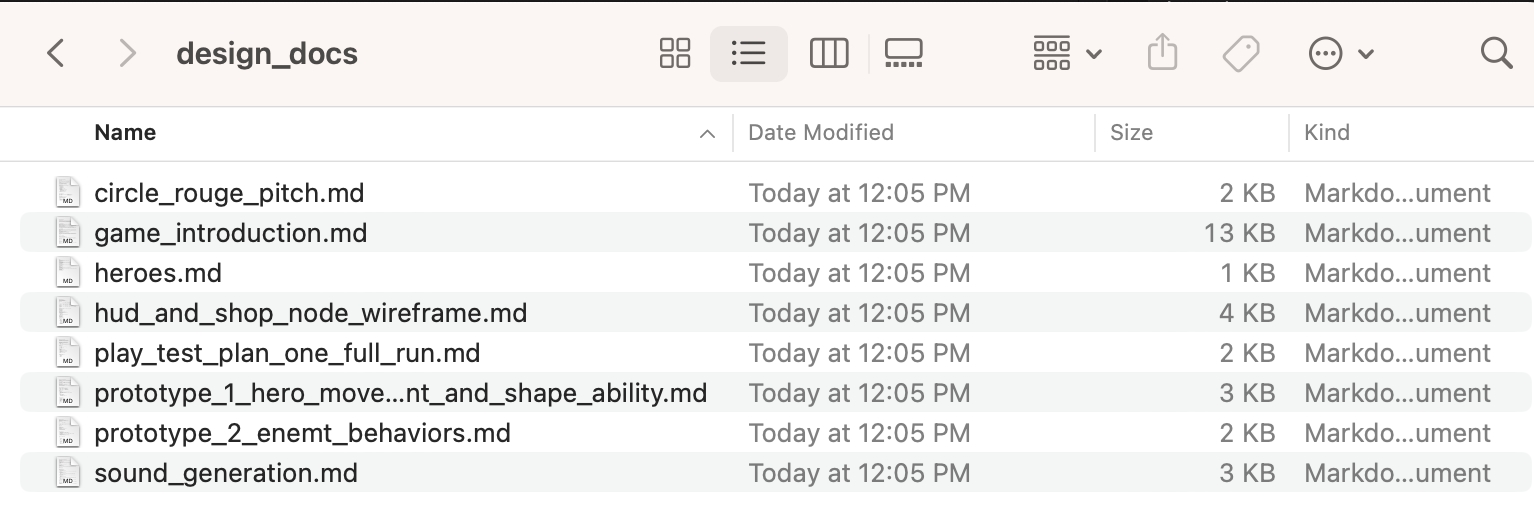
Step 1: Export Design Context From Knowledge Base
Download or copy the design docs that define your current game scope, then place them in a dedicated folder such as design_docs.
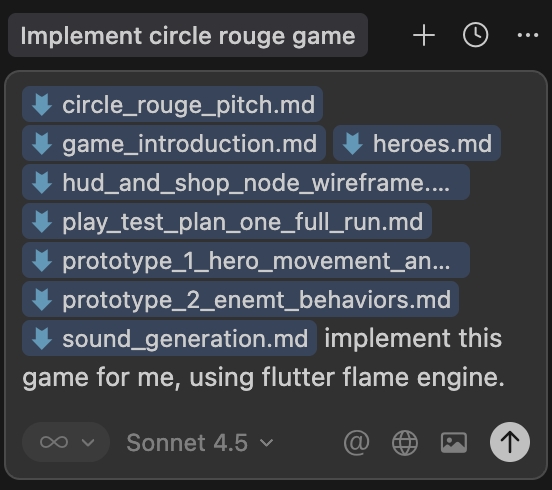
Step 2: Load Context Into the IDE Assistant
Open your IDE chat panel and attach the design files so code generation stays grounded in project intent.
Step 3: Generate and Iterate Locally
Use a concrete implementation prompt, for example:
"Implement this game using Flutter Flame. Start with the core gameplay loop and main scene architecture."
Depending on your IDE, review a plan first or run generation directly.
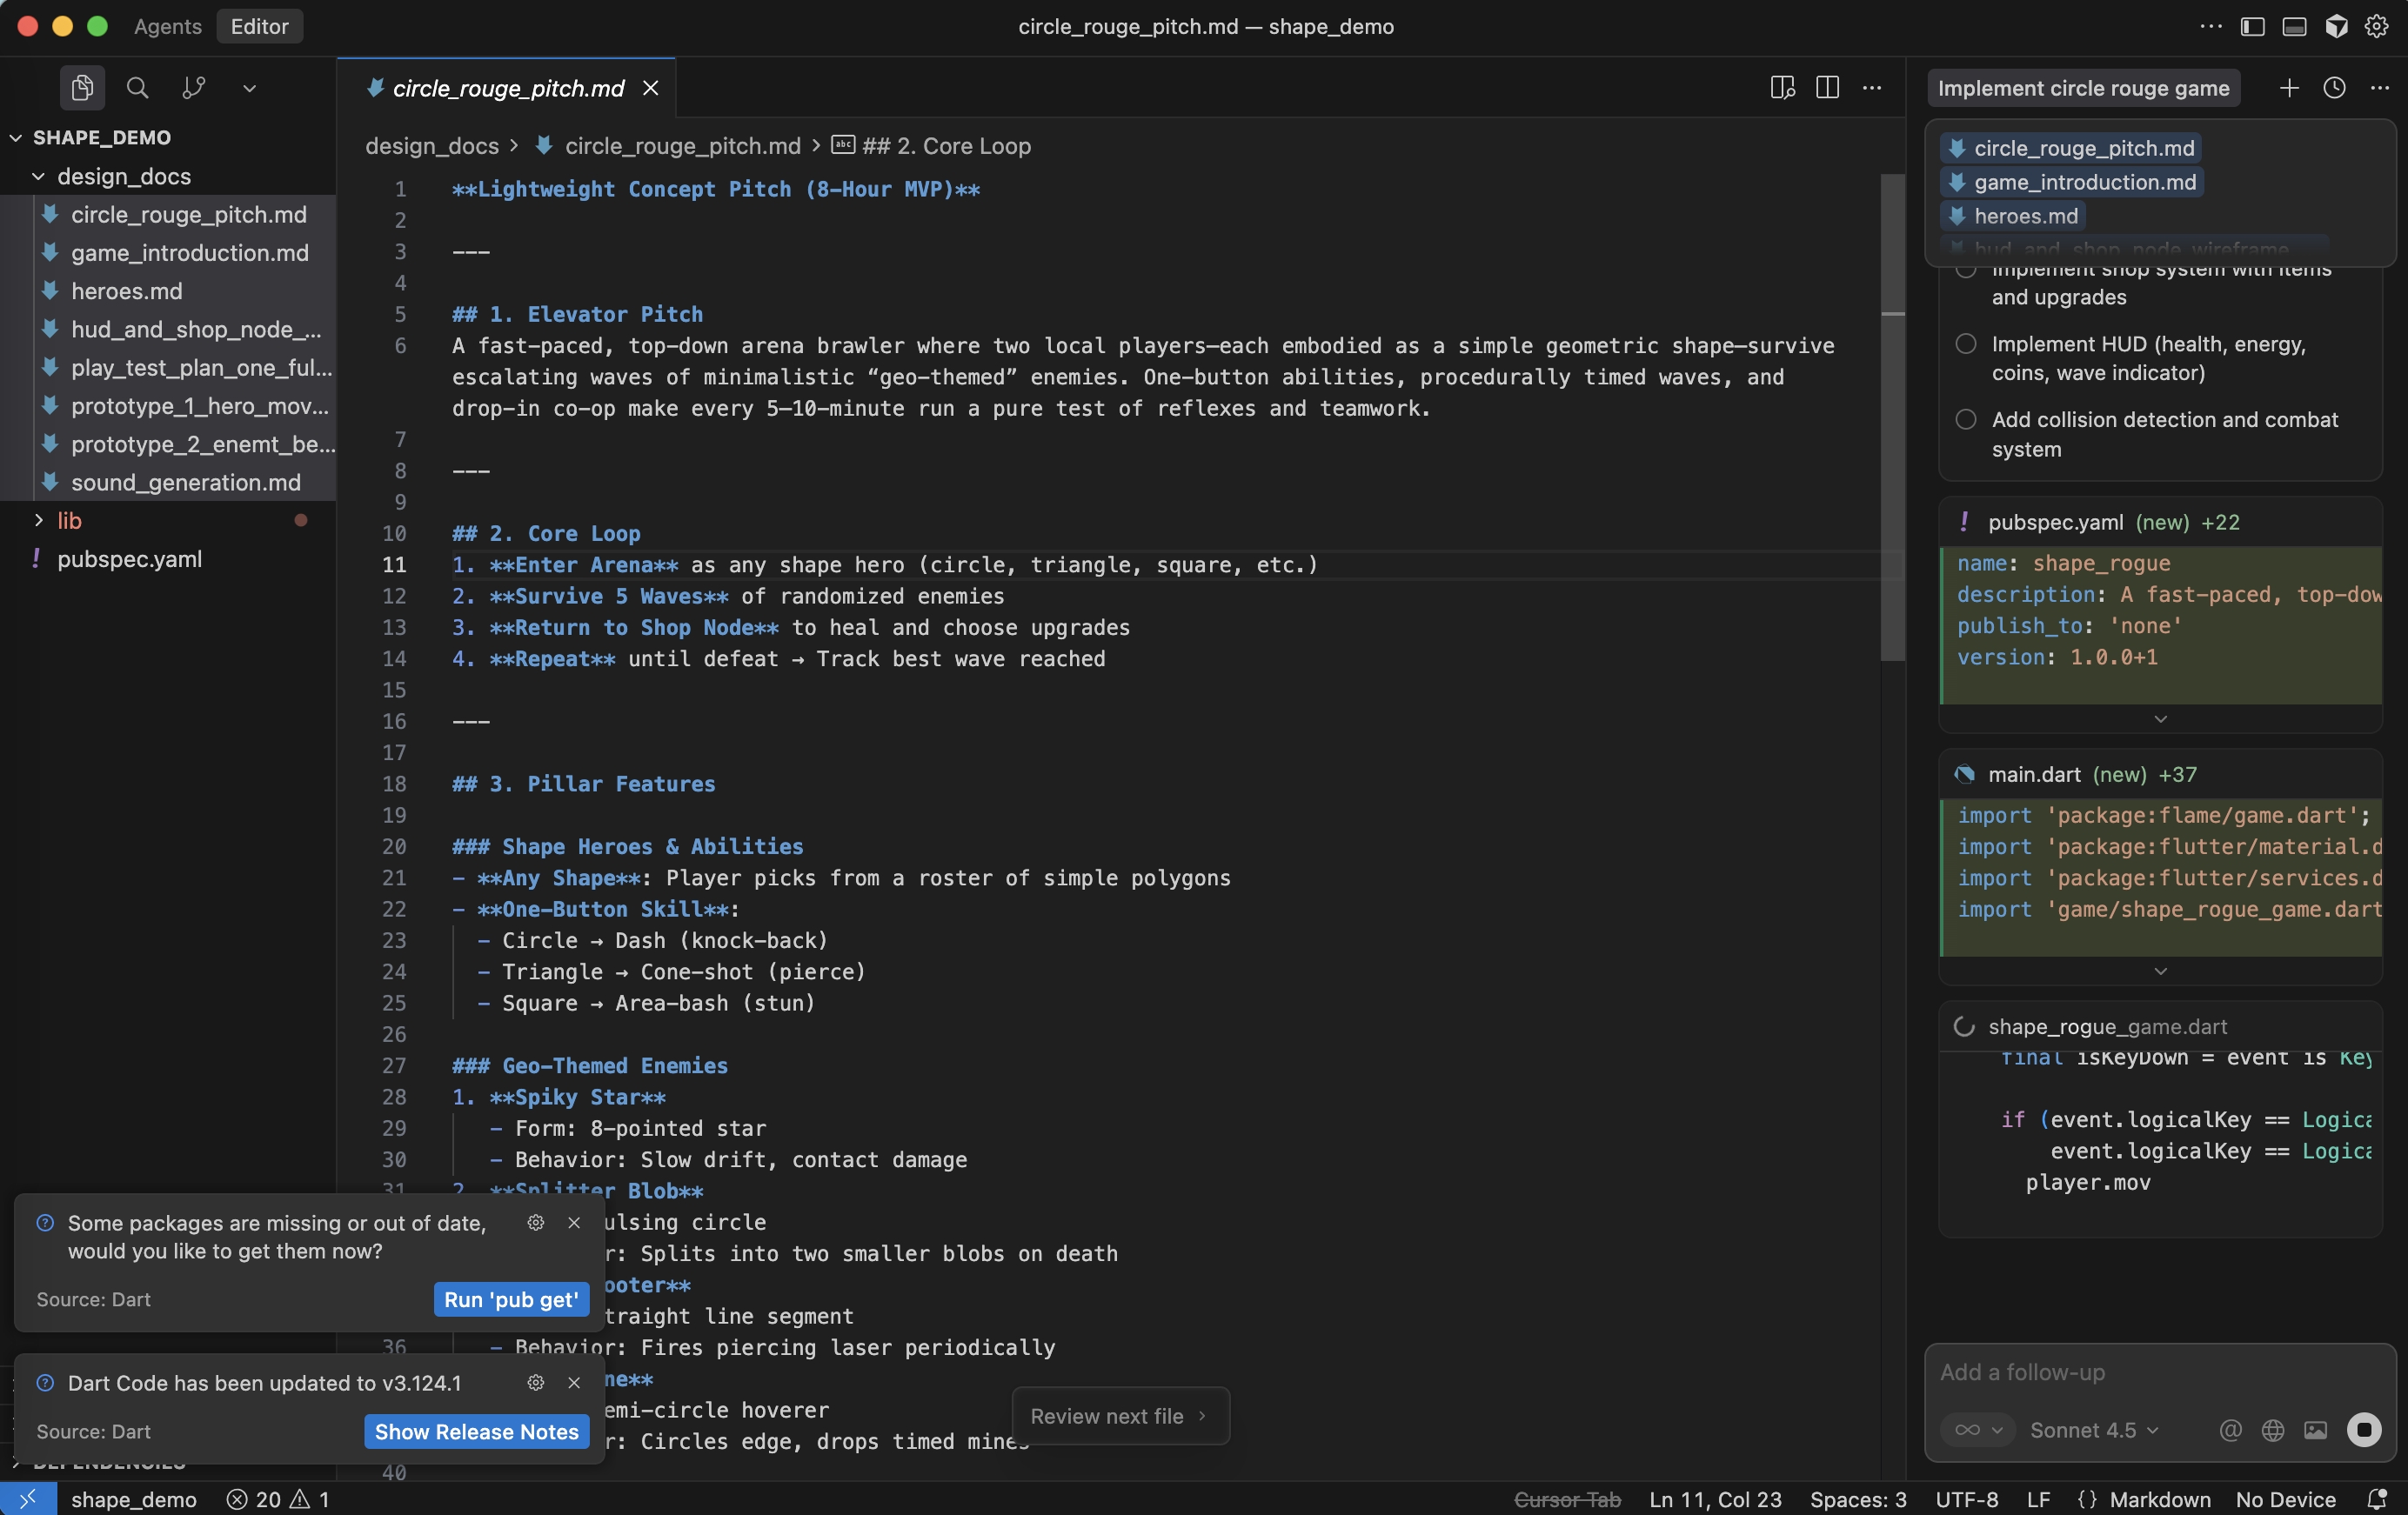
Step 4: Expand and Refine
Iterate in short cycles:
- Run the game locally
- Review behavior against design docs
- Ask for targeted code changes
- Re-test
Flame-Specific Setup
For Flame MCP and engine-specific setup, see Flame Engine Guide.
Next: Flame Engine | Image Generation